Get Started with HiTechAdmin
The HiTechAdmin offers an administrator-level interface where you can efficiently handle tasks such as creating and managing users, setting up hosting plans, configuring backups, and editing HiTechCloud settings.
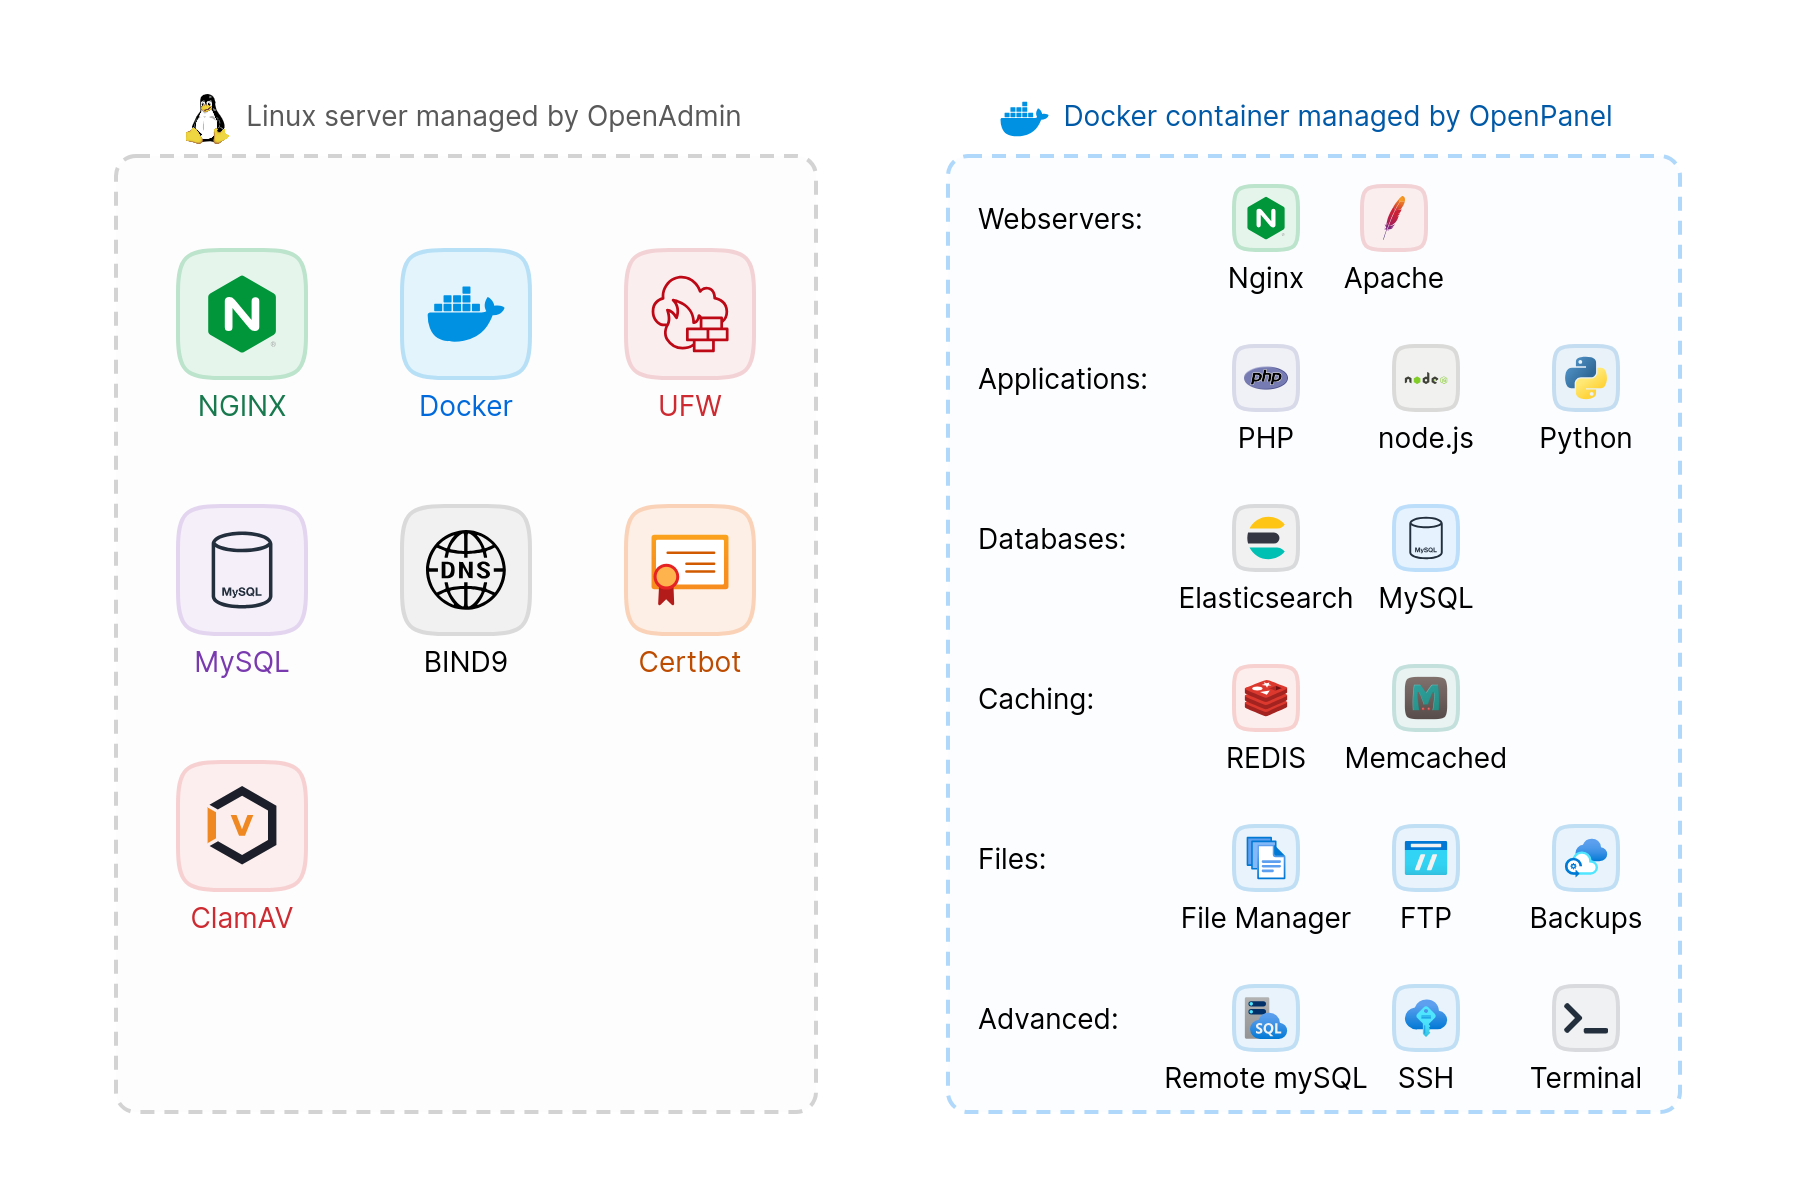
Requirements
Minimum Requirements:
- A blank full virtual machine or bare metal server
- Minimum of 1GB RAM and 15GB storage (4GB RAM and 50GB is recommended)
- x86_64/amd64 architecture *support for ARM (AArch64) is in progress
- IPv4 address
Supported OS:
- Ubuntu 22 and 24
- Debian 11 and 12
- AlmaLinux 9.2, 9.4
- RockyLinux 9.4
- CentOS 9
If you are using external firewall, the following ports should be opened: 53 80 443 465 2083 2087 32768:60999
Installation
HiTechCloud can be installed on both VPS and bare-metal servers.
Install HiTechCloud on VPS
The installation process takes about 5 minutes. To install hitechcloud follow these steps:
- Install script
- DigitalOcean Droplet
- Log in to your new server;
- as root via SSH or
- as a user with sudo privileges and type "sudo -i"
- Copy and paste hitechcloud installation command into the terminal
bash <(curl -sSL https://hitechcloud.org)
The installation script supports optional flags that can be used to configure hitechcloud, skip certain installation steps or simply display debugging information.
If you encountered any errors while running the installation script, please copy & paste the installation log file to the community forums.
HiTechCloud is available as a 1-Click app (droplet) on DigitalOcean. Click on the button to spin a droplet with HiTechCloud already installed:

or with DigitalOcean api:
curl -X POST -H 'Content-Type: application/json' \
     -H 'Authorization: Bearer '$TOKEN'' -d \
    '{"name":"choose_a_name","region":"nyc3","size":"s-2vcpu-4gb","image":"hitechcloud"}' \
    "https://api.digitalocean.com/v2/droplets"
Installing HiTechCloud on a bare-metal server
When installing HiTechCloud on a bare-metal server, it is recommended to format the disk with the XFS filesystem and enable the 'pquota' mount option. This is required for Docker's OverlayFS storage driver to function properly, as it allows setting user quotas and limiting container sizes on newer kernels. More details on these requirements can be found in the Docker OverlayFS documentation.
If your disk is not formatted with XFS, the HiTechCloud installation script will automatically allocate 50% of the available storage. It will then create an XFS storage file and mount it at /var/lib/docker/. This process may take a considerable amount of time on servers with large storage capacities (e.g., several terabytes). In such cases, we recommend manually setting the filesystem to XFS or adjusting the storage file size. Alternatively, you can specify a custom size during installation by using the --docker-space flag. For instance, to allocate only 100GB for Docker, you can use: --docker-space=100.
To install HiTechCloud on a bare-metal server:
- Allocate 50% of disk to Docker
- Set disk size for Docker (faster install)
bash <(curl -sSL https://hitechcloud.org)
*replace 250 with the disk size in GB to allocate to Docker.
bash <(curl -sSL https://hitechcloud.org) --docker-space=250
The installation script supports additional flags that can be used to configure hitechcloud, skip certain installation steps or simply display debugging information.
If you encountered any errors while running the installation script, please copy & paste the installation log file to the community forums.
Post Install Steps
Recommended steps after installing HiTechCloud:
- access admin panel
- set domain for accessing panels
- set custom nameservers
- create a hosting plan
- create a new user account
- set admin email for server alerts
Access HiTechAdmin
Run hitechcloudcli admin command to find the address on which admin panel is accessible. Example output:
root@server:/home# hitechcloudcli admin
● AdminPanel is running and is available on: https://server.hitechcloud.co:2087/
To login to admin panel you need a username and password.
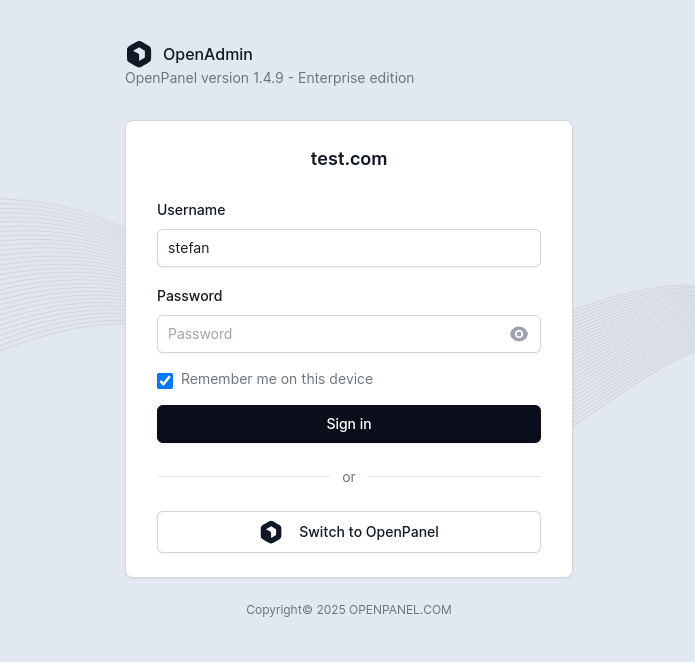
Both username and password are random generated on installation.
To view admin accounts:
hitechcloudcli admin list
To set a new password for the admin account run command: hitechcloudcli admin password USER_HERE NEW_PASSWORD_HERE
Example:
root@server:/home# hitechcloudcli admin password stefan ba63vfav7fq36vas
Password for user 'stefan' changed.

===============================================================
● AdminPanel is running and is available on: https://server.hitechcloud.co:2087/

- username: stefan
- password: ba63vfav7fq36vas

===============================================================
Enable Automatic Updates
autopatchoption allows Administrator to automatically update HiTechCloud to minor versions. MINOR versions include only security updates and bug fixes.autoupdateoption allows Administrator to enable or disable automatic updates to major versions. MAJOR versions add new functionality in a backward compatible manner.
- With HiTechAdmin
- With HiTechCloudCLI
To enable automatic updates, navigate to HiTechAdmin > General Settings and check both the 'Auto Updates' and 'Auto Patches' options:
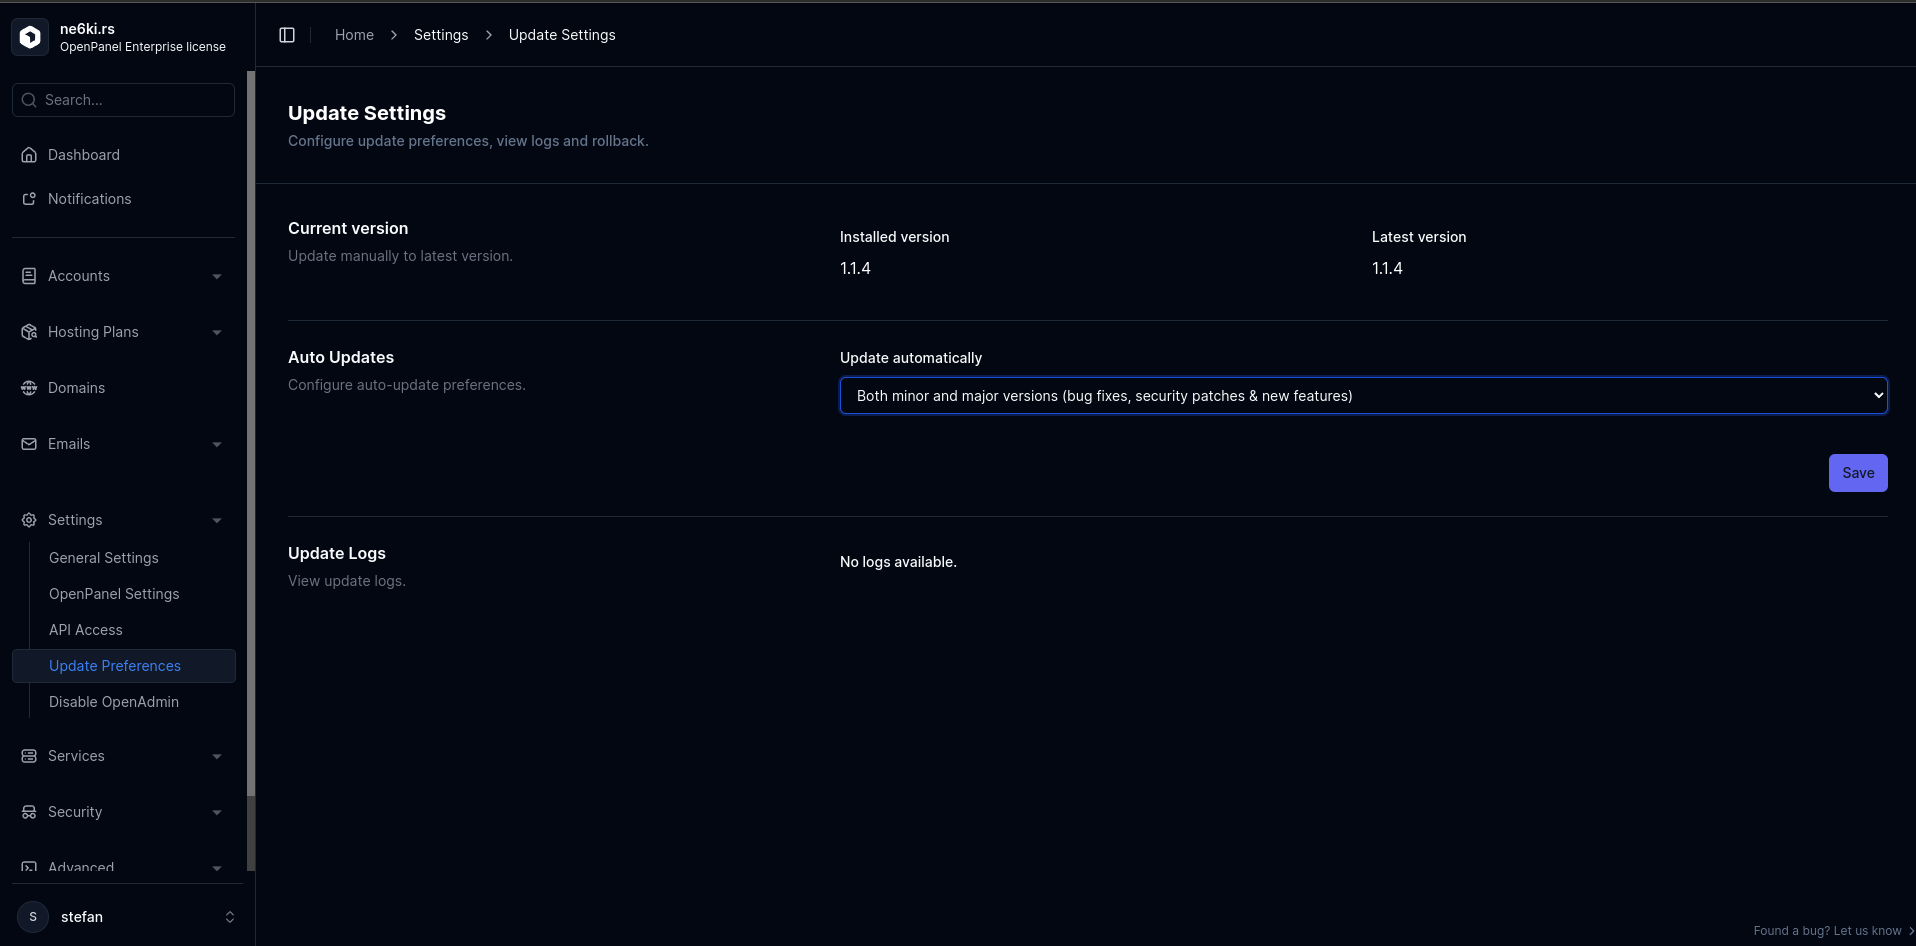
To enable automatic updates from the terminal use commands:
hitechcloudcli config update autoupdate yes
hitechcloudcli config update autopatch yes
Disable Automatic Updates
- With HiTechAdmin
- With HiTechCloudCLI
To disable automatic updates, navigate to HiTechAdmin > General Settings and uncheck the 'Auto Updates' and 'Auto Patches' options:
To disable automatic updates from the terminal use commands:
hitechcloudcli config update autoupdate no
hitechcloudcli config update autopatch no
Manual Updates
When a new update is available, you will receive a notification in the admin panel.
- With HiTechAdmin
- With HiTechCloudCLI
- from GitHub
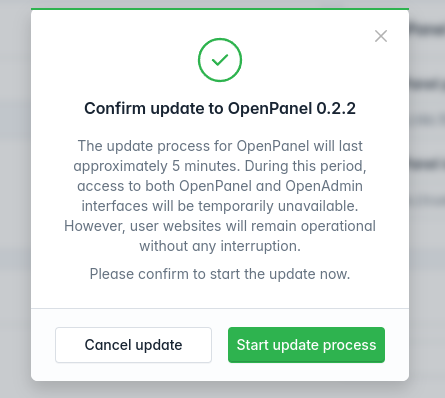
To manually update HiTechCloud, navigate to HiTechAdmin > General Settings and click on the "Update Now" button. NOTE: update is visible only if newer version is available.
| Step 1. | Step 2. |
|---|---|
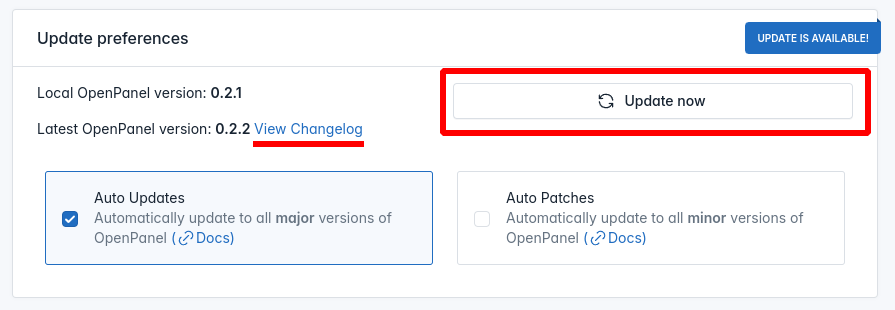 |  |
To update HiTechCloud manually from the terminal, run the following command:
hitechcloudcli update --force
To update HiTechCloud manually from GitHub:
bash <(curl -sSL https://mirrors.hitechcloud.org)
License
HiTechCloud is available in two editions:
- HiTechCloud Community edition is a free version of the panel that is limited to 3 user accounts and 50 domains, which should be more than enough for personal use.
- HiTechCloud Enterprise edition unlocks premium features for user isolation and management, suitable for web hosting providers. It has API access and can easily be integrated with 3rd party billing tools like WHMCS and FOSSBilling.
HiTechCloud Community VS Enterprise
Security
HiTechCloud has been built from the ground up with security in mind. Internet history is littered with painful security incidents, so we traded old software compatibility and insecure authentication methods for modern day security measures.
Firewall
HiTechCloud supports both ConfigServer & Firewall (CSF) and UncomplicatedFirewall (UFW).
Isolated Services
Each user is provided with a containerized environment similar to a VPS, featuring their own web server (Nginx or Apache) and database (MySQL or MariaDB). This setup prevents resource hogging commonly associated with standard shared hosting.
Two-Factor Authentication
Users have the option to enable Two-Factor Authentication (2FA) for added security on their accounts. Administrators can manage this feature at the server level or for individual users.
Detailed Logging
All actions taken by HiTechCloud users are recorded in per-user activity logs. This eliminates confusion over issues like file or webmail account deletions—every action is logged and can be reviewed by users.
Isolated Users and Admin
HiTechCloud and HiTechAdmin operate independently from one another. One runs as a systemd service while the other runs as a Docker container. HiTechCloud utilizes SQLite for its database, whereas HiTechAdmin relies on MySQL. Importantly, users can perform actions on their panel even if the admin panel is unreachable or disabled.
Disabling the Admin Panel
For production environments, particularly with the Community edition—which does not offer API access and lacks third-party integrations—it is advisable to disable the admin panel after configuring your server. Alternatively, you can restrict access to the admin port 2087 by whitelisting your team's IP addresses.
To disable HiTechAdmin, navigate to HiTechAdmin > Settings > HiTechAdmin and click on "Disable Admin Panel" or use the terminal command hitechcloudcli admin off. This will deactivate the admin panel, and you can re-enable it when necessary with the command hitechcloudcli admin on.
Limiting Access to Admin Panel
To restrict HiTechAdmin access to your team, whitelist your server's IP addresses in CSF/UFW, and then disable port 2087.
HTTP Basic Authentication
As an additional security measure, HTTP Basic Authentication can be enabled for the admin panel.
Brute-Force Protection
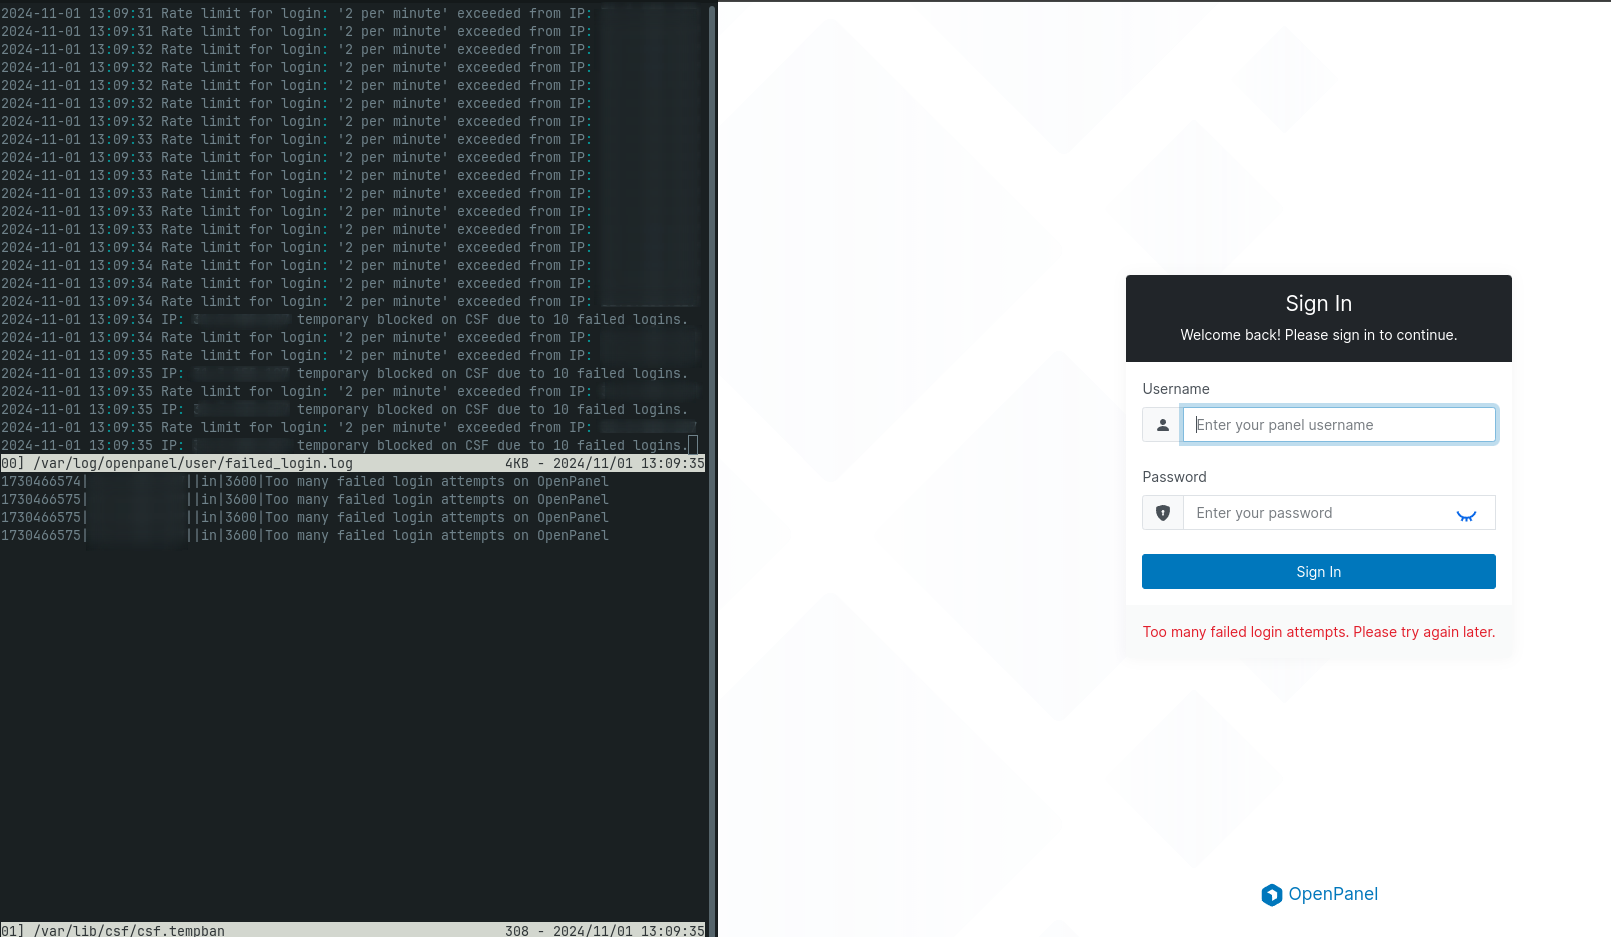
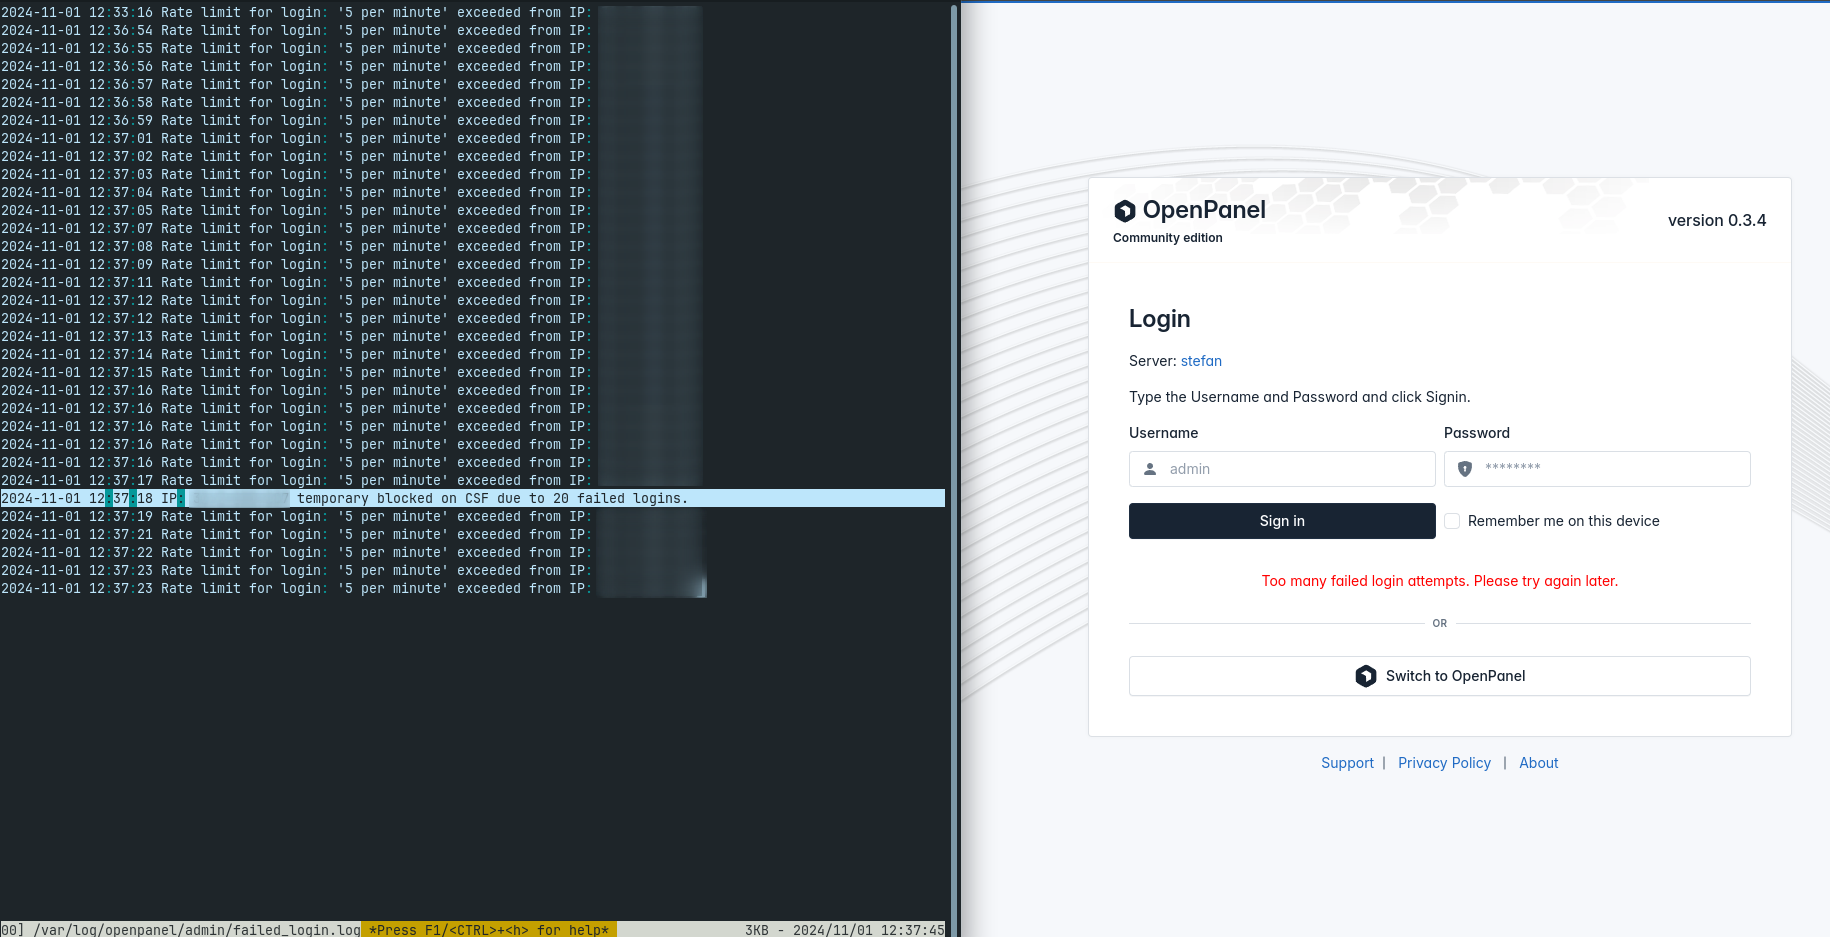
Both user and admin interfaces have a built-in rate limiting and IP address blocking to protect against brute-force attacks. You can configure the maximum number of failed login attempts allowed per IP (default is 5 per minute) and the total number of failed attempts (default is 20), after which the offending IP will be temporarily blocked by the firewall for one hour.
For user panel imits are configurable in: /etc/hitechcloud/hitechcloud/conf/hitechcloud.config file:
[USERS]
login_ratelimit=5
login_blocklimit=20
For admin panel imits are configurable in: /etc/hitechcloud/hitechadmin/config/admin.ini file:
[PANEL]
login_ratelimit=5
login_blocklimit=20
If a user successfully logs in, the counter for login_blocklimit will reset.
Failed login attempts and blocked IP addresses are logged in the /var/log/hitechcloud/admin/failed_login.log file for HiTechAdmin and in the /var/log/hitechcloud/user/failed_login.log file for HiTechCloud.
IP blocking per domain
Users can block IP addresses per domain name.
- Requirements
- Installation
- Install HiTechCloud on VPS
- Installing HiTechCloud on a bare-metal server
- Post Install Steps
- Access HiTechAdmin
- Enable Automatic Updates
- Disable Automatic Updates
- Manual Updates
- License
- Security
- Firewall
- Isolated Services
- Two-Factor Authentication
- Detailed Logging
- Isolated Users and Admin
- Disabling the Admin Panel
- Limiting Access to Admin Panel
- HTTP Basic Authentication
- Brute-Force Protection
- IP blocking per domain