How to Migrate a WordPress® Installation to HiTechCloud
This guide will walk you through the process of uploading your WordPress website to HiTechCloud, including domain setup, database configuration, file uploads, and final testing.
If you’re starting fresh with a new site, follow: How to Install WordPress® With HiTechCloud
1. Domain
1.1 Add a Domain Name
- Log in to your HiTechCloud dashboard.
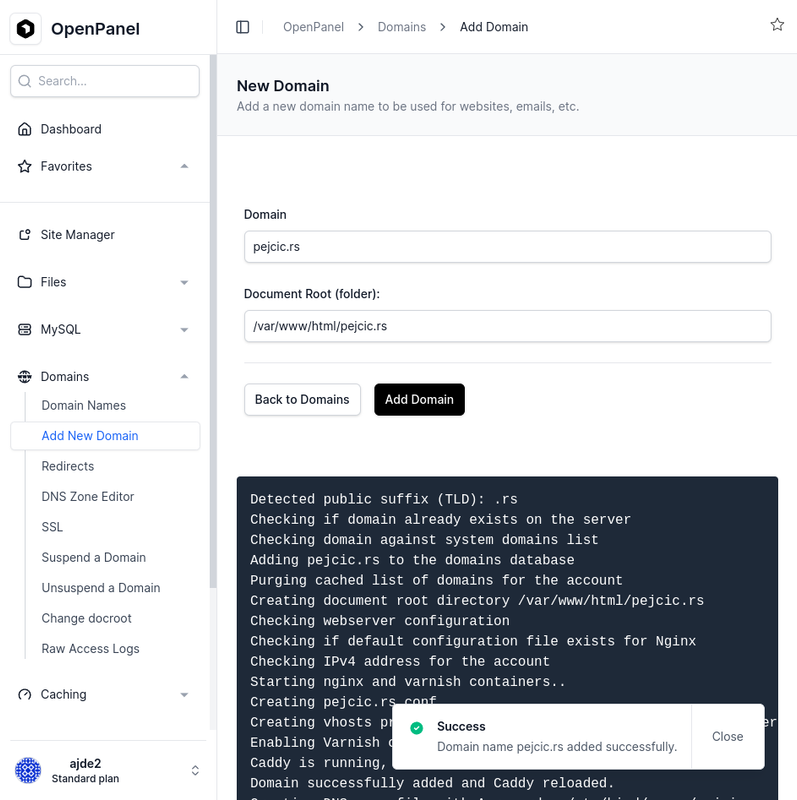
- Navigate to Domains → Add Domain.
- Enter your domain name (e.g.,
example.com). - Save.
Make sure to point your domain’s DNS records (A record) to your HiTechCloud server IP.
2. Database
2.1 Create Database and User
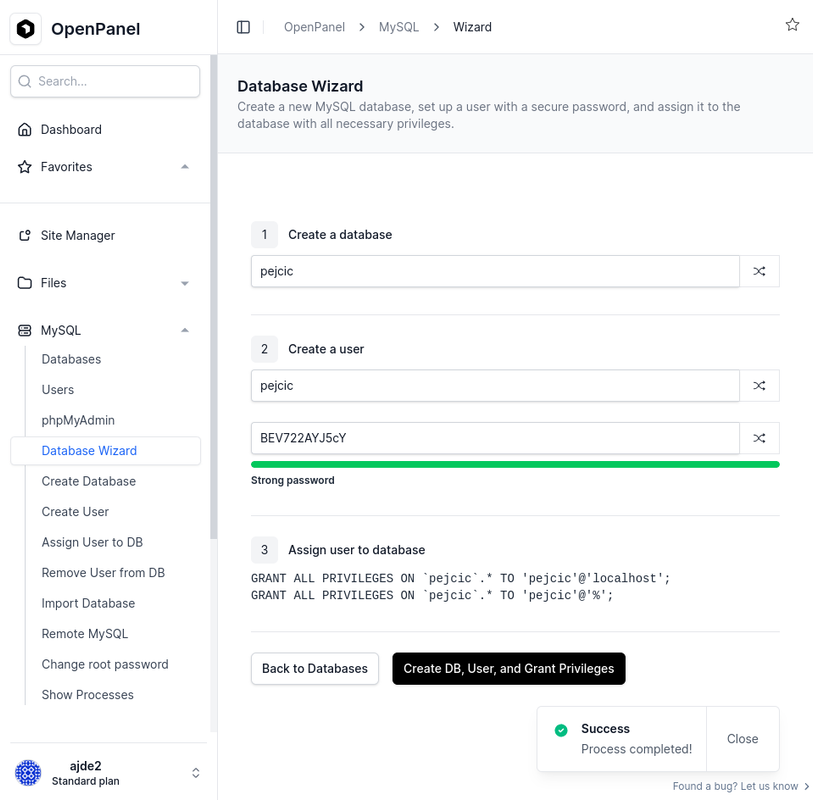
- Go to MySQL → Database Wizard.
- Set Database Name, Database User and set a strong password.
- Click on the Create DB, User and Grant Privileges button.
2.2 Import SQL File to Database
There are two ways to upload a database:
- Using 'Import Database' option if available.
- Using phpMyAdmin interface.
Import SQL file using Import Database:
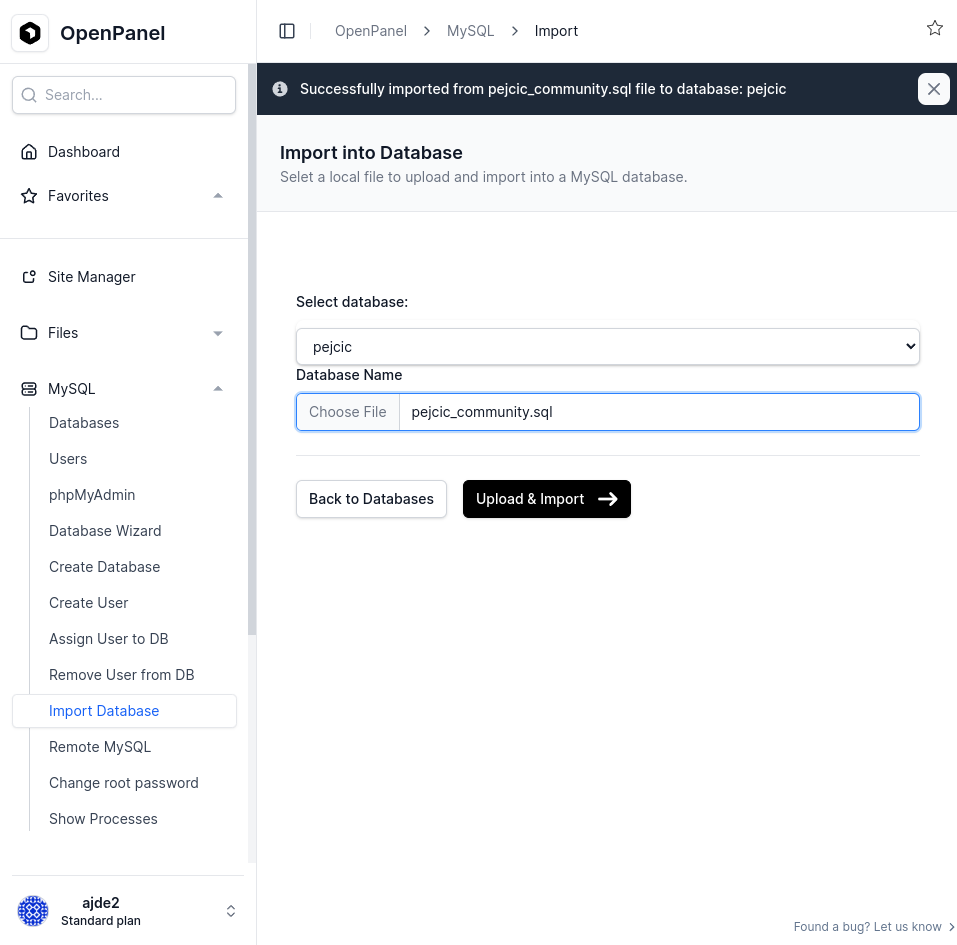
- Go to MySQL → Import Database.
- Select Database and choose file from your device.
- Click on Upload & Import.
2.3 Import SQL file using phpMyAdmin:
For uploading SQL files using phpMyAdmin interface, please follow this guide: How to Import SQL Files
3. Files
3.1 Upload Files via File Manager
Before uploading, ensure your backup is archived (.zip, .tar or .tar.gz). If it isn’t, compress the files into one archive first.
- Open File Manager in HiTechCloud.
- Navigate to your domain’s root directory (e.g.,
/var/www/html/example.com/). - Click the Upload button.
- Select and upload your backup archive.
- Once uploaded, go back to File Manager, select the archive, and click Extract → confirm extraction.
- After extraction is complete, delete the uploaded archive by selecting it, clicking Delete, and confirming.
3.2 Change wp-config.php File
-
In File Manager, locate the
wp-config.phpfile.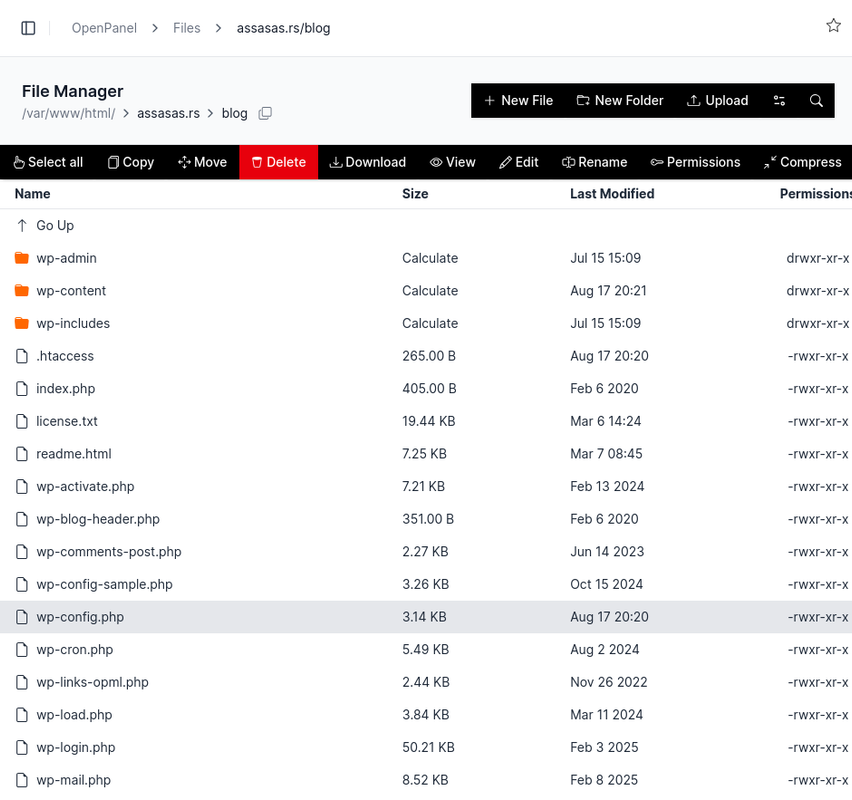
-
Edit the database settings:
define('DB_NAME', 'your_database_name');define('DB_USER', 'your_database_user');define('DB_PASSWORD', 'your_database_password');define('DB_HOST', 'mysql'); // mariadb or mysql - depending on your current setting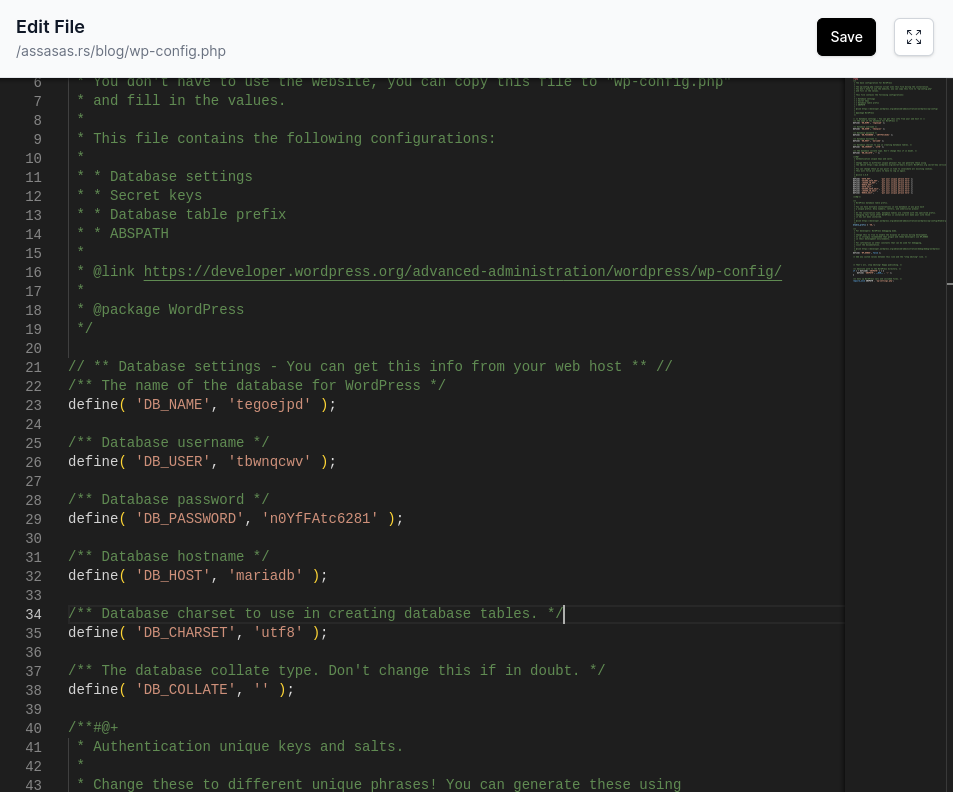
-
Save changes.
4. Test
4.1 Test via Domain Name
- Visit your domain (e.g.,
https://example.com). - If the DNS has propagated, your WordPress website should load.
4.2 Test via Live Preview
- If DNS is not yet pointed, use HiTechCloud’s Live Preview feature.
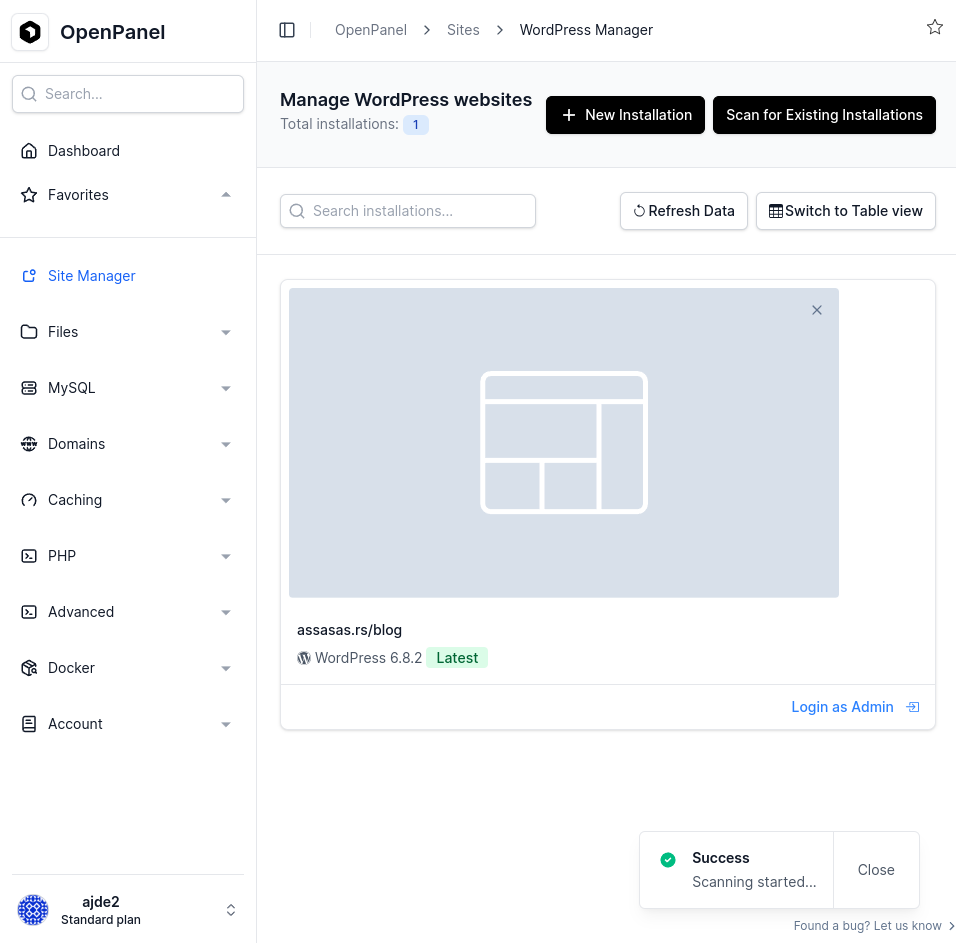
- Go to WordPress Manager in HiTechCloud → click Scan for Existing Installation and wait for process to complete.
- Refresh the page and click on your website.
- Click on the Live Preview button to check your website.